
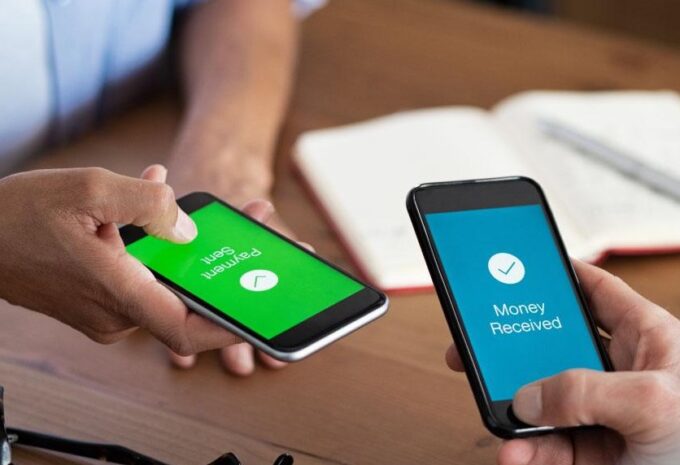
Modern high-tech times have brought in modern methods of money transfer. These days, we do not have to wait tediously for money to go through. Snap transfers are not a luxury anymore; they are needed.
This is why you will find several money-transferring applications on iOS or Android stores that allow users to make instant transactions. Some of the most prominent ones include Cash App, Zelle, Venmo, and PayPal. These are fast and reliable applications with massive customer bases.
Among them, the Cash App is arguably the most efficient and streamlined of all. Veteran users have claimed that the app is very easy to use, and the functionalities are pretty straightforward. You can link your credit cards and bank account to the Cash App.
As the user interface is clean and simple, even complete beginners can become proficient with its use in no time. Let us take a closer look into the many features of the Cash App and how businesses can benefit from it.
What Is the Cash App?
Initially known as Square Cash, the Cash App was launched back in October 2013. It became popular five years later, near the end of 2018. As of this writing, the Cash App boasts a staggering 36 million active users, with the number going up every day.
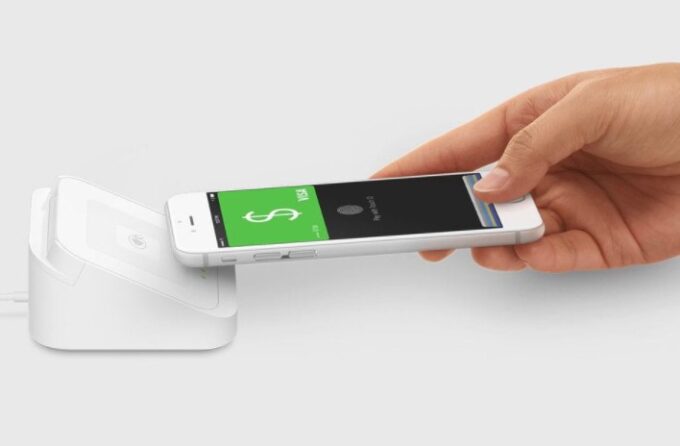
The Cash App is a mobile payment service that can send and receive money from different entities dynamically. On top of that, you can also use the app to make payments on online shopping platforms or billing portals.
You would need to provide your bank account information, as well as the credentials of a personal debit card (if any), once you create your profile in the Cash App. This ensures that the transactions remain legit and fully verified.
How to Add Money to the Cash App Card?
Businesses opting to implement the Cash App in their day-to-day operations need to transact and store substantial money. However, for this to work, account managers need to figure out the answer to a straightforward question:
Where can I load my Cash App card? The answer is simple and relatively straightforward. According to reallyneedcash.com, you can either add money directly from your bank or resort to physical stores dedicated to this purpose.
Bank and Debit Card
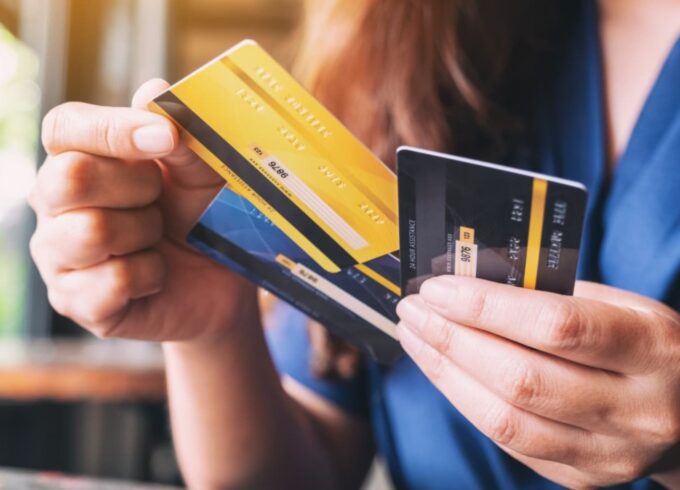
This method is relatively easier than the latter due to the lack of hassle as you would not have to physically visit a retail outlet to get access (or to recharge). If you have a bank account connected to the app, all you need to do is go to the “Banking” section and click “Add Cash.” This will prompt you to enter an amount.
After you do so, hit “Add,” and the rest will be taken care of by the app itself. In case you want to incorporate a debit card, the procedure is almost identical.
Recharging Outlets

If you want to go the practical way, there is an array of outlets that you can visit to have your Cash App card recharged. Examples include CVS, Walmart, Target, Walgreens, Dollar General, Rite Aid, Family Dollar, 7-Eleven, Dollar Tree, and many more.
A small fee is deducted every time you go for a load, although the amount is minimal and can vary depending on the outlet. The Cash App card is a specialized debit card that is linked to your Cash App profile.
The card will act in response to the condition of your account. The biggest advantage of using the Cash App card is that you can withdraw money from any ATM booth that accepts VISA – with added benefits.
How to Set Up a Business Account in the Cash App?
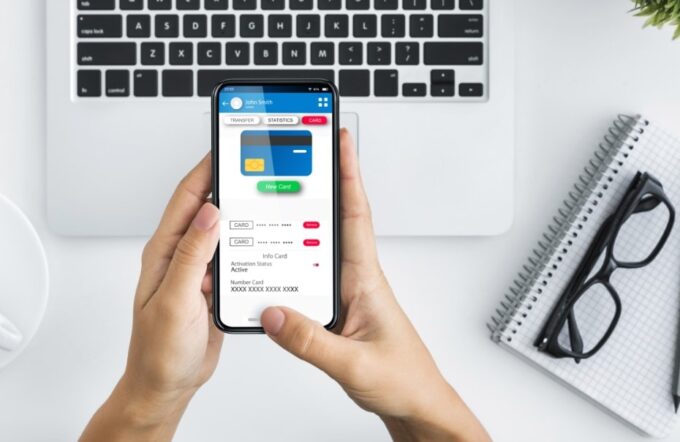
As mentioned above, businesses can greatly benefit from the use of Cash App. Digital banking is the way to go these days, and businesses tend to utilize it completely. To get started with the Cash App, create your account using the app or through the website. You would need to link your profile to an email address or a phone number for verification purposes.
After that, expect to receive a notification message containing a specific passcode – conveyed mainly via email or text. Use this code to log in to your profile. Provide your first and last name when prompted afterward.
If you have followed the guidelines mentioned above, you should have your Cash App profile set up and ready for transactions by now. The next step is to convert it into the business variant. You can easily make the switch by navigating into the “settings,”, pressing the “personal menu,” and changing the type of account to “business.”
This can be reverted whenever needed. To make your business account fully operational, provide your business bank account information in the app. Promote your company’s integration with Cash App by developing a branded $cashtag that new and recurring clients can easily recognize.
Try mentioning your cash.me link on the business website. This is a great form of advertisement which ensures that your clients know you take payments on the Cash App.
Things to Consider Before Switching to the Cash App
Despite the many benefits of using the Cash App, there are certain drawbacks that you need to have an eye on. Let us take a look at some of the most common ones.
Unless you provide profound personal information, the Cash App limits transactions to $1,000 per month. The limit expands once you verify your account with all the required information.
Businesses need a lot of technical support. However, the Cash App only responds to emails or social media messages, which can be impractical when dealing with complex matters.
Many companies can not use the Cash App card – making it inconvenient to use Cash App under such circumstances.
Conclusion
Probably the biggest limiting factor in using the Cash App is the fact that it only operates in the US and UK. This means people can opt for alternative ways to transfer money that they might deem convenient.
However, as already explained in this article, the Cash App really is the clear winner when it comes to running a business, especially due to its telling features.


